1
Enter Category layout
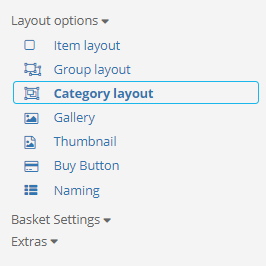
Open the editor, click Basket, and enter Layout.
Having categories of your item groupings is important. Doing so makes it easy for customers to find the items they are looking for and gives your website a professional look. However, categories will not look appealing if you fail to style them in a way that coheres with the wider style and tone of your website. This piece will show you how to make full use of the category styling tools so that you can wow your customers with a streamlined category format.
ecommerce, online shop, categories, styling,Follow Step-by-Step
Open the editor, click Basket, and enter Layout.
Once in the Layout area, choose Category.
There are three different layouts available for you to choose from in this area:
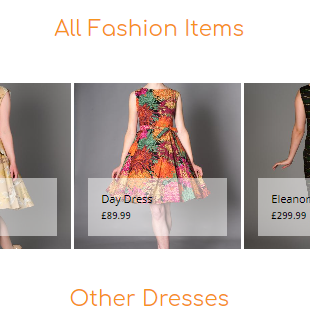
Style 1: Shows a representative grid of group images that link to each group page
Style 2: Shows each group’s items in a slider format
Style 3: Shows all groups and their items in a list format
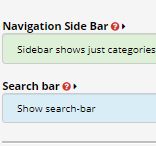
Use this area to choose:
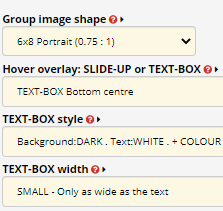
If you select Style 1 (Group Menu Style), you can make a variety of changes to your thumbnail settings, such as:
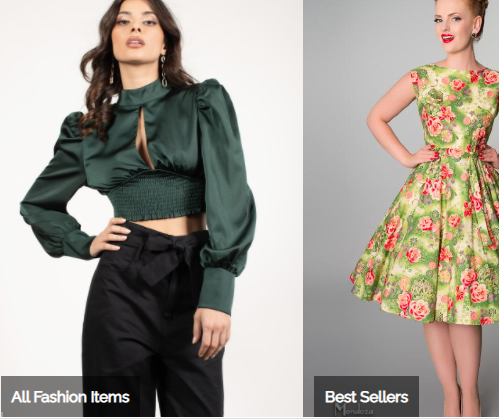
If you have minimal groups with many items, Style 1 may be the right choice given that this style allows you to show large, high-quality thumbnails that entice users to click through to your items.
Style 2 allows you to present your group's items in a slider format. This option would be used when you want to show a lot of groups in a category and want to clearly show what's inside each group without taking up a lot of vertical space.
As you can see, items scroll on a single line, rather than in a grid. Style 2 allows you to economise space on the page, which may be an important design specification for your website.
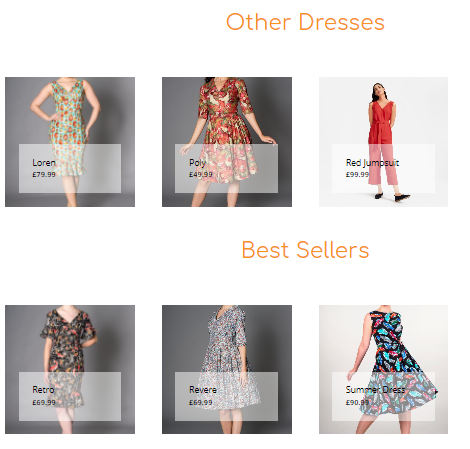
If you have many groups with a smaller number of items in each one, Style 3 works better as it allows you to clearly display every item in each group.
Use this option when you want to present a large number of items in really clear fashion on one page, giving customers a wide range of options to click.
Once category assumes the characteristics of Style 3. But what if I want another category to be in the form of Style 1 and another to be in the form of Style 3? How do I make this happen?
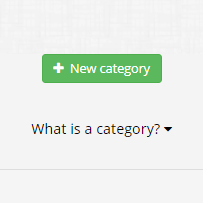
Go to your list of categories and press the blue Edit button for the category in question.
Inside the category, look for the Category Layout Style dropdown and change from Default to Group Menu Style.
Hit save and view and you will see how the category has adopted the settings created for the Group Menu Style in the Category Layout area.
You can use this area to choose which style you wish to assign to each category.
Having followed these steps, you now know how to create two different category layouts for categories with varying characteristics.
Watch a video