So, you’ve just added some items into your ecommerce website. How exciting! But be wary that the hard work is just beginning. You may have fantastic items, but if they are not being presented professionally and in a way that reflects your wider website, customers will not be as enticed by them as they could be. In DotGO’s layout section, you can choose from four different ways to present items to customers. Let’s go through them all, one by one.
Conventional Item Layout
This is the default layout for your items – and if you are unsure about which layout best suits your items, stick with this one. The ‘Average Image Size’ layout essentially gives equal weight to the image and the text when customers look at your items, and would apply in most cases. If you are selling vape pens, perhaps, or women’s shoes, it is important to show customers both the item itself and a decent description of the item, along with any variants or custom fields.
Moreover, there are stylistic concerns to be had here. You may care a lot about having a truly aesthetically pleasing, symmetrical-looking website, and if this is the case, the ‘Average Image Size’ layout is your best bet. And this is because the item image and description are of equal size and therefore complement each other nicely, creating a professional-looking page.
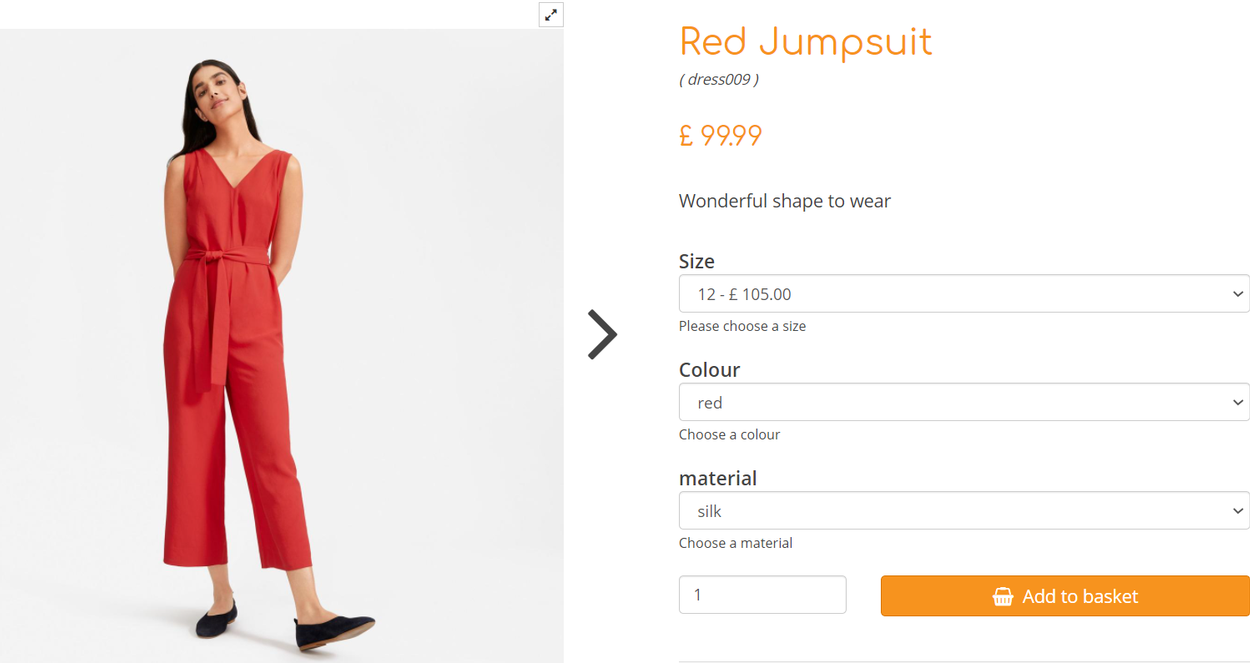
Image-Heavy Layout
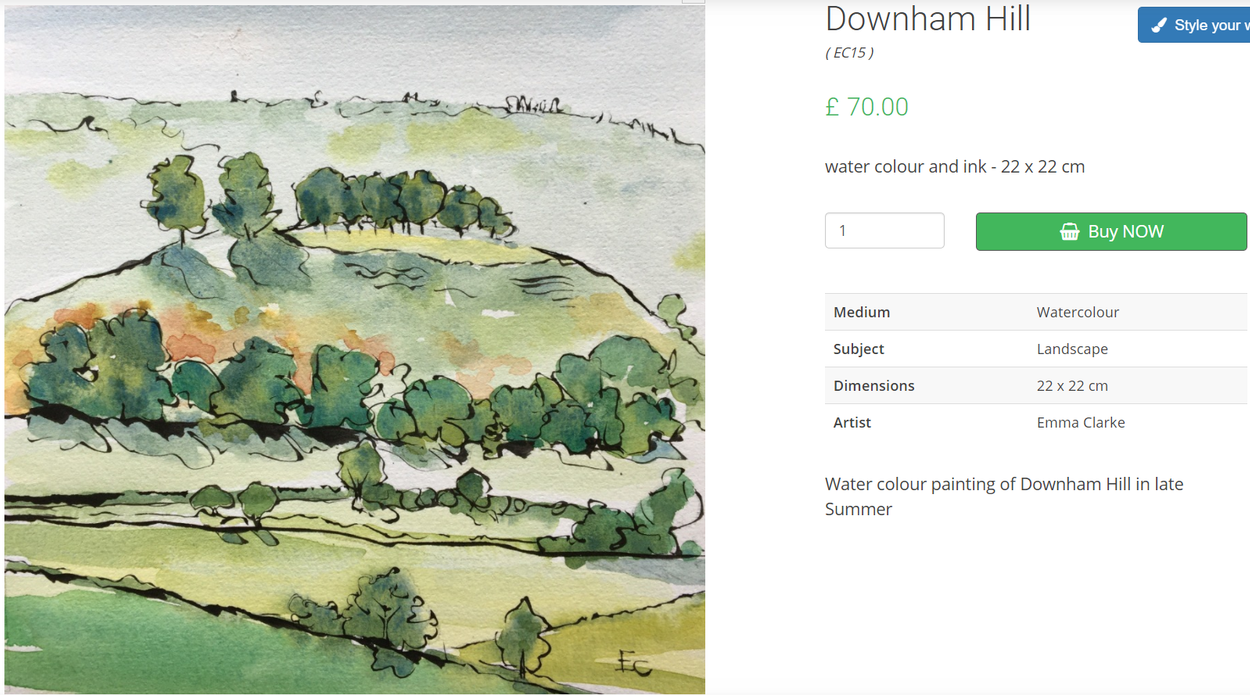
You may, however, want to give more weight to the item image by selecting the “Bigger Image” option, leaving an immediate impression on customers with a compelling image. You still have the description and price down the right, but that section is smaller, while the image dominates the user’s attention.
As a result, you should choose this layout option when you know that the actual image of your item is what will convince customers to make a purchase. How it looks – what colour, what design, etc. – should be the most important thing for items with this layout. A good example would be an ecommerce website selling paintings, or perhaps consumables like chocolates.
Text-Heavy Layout
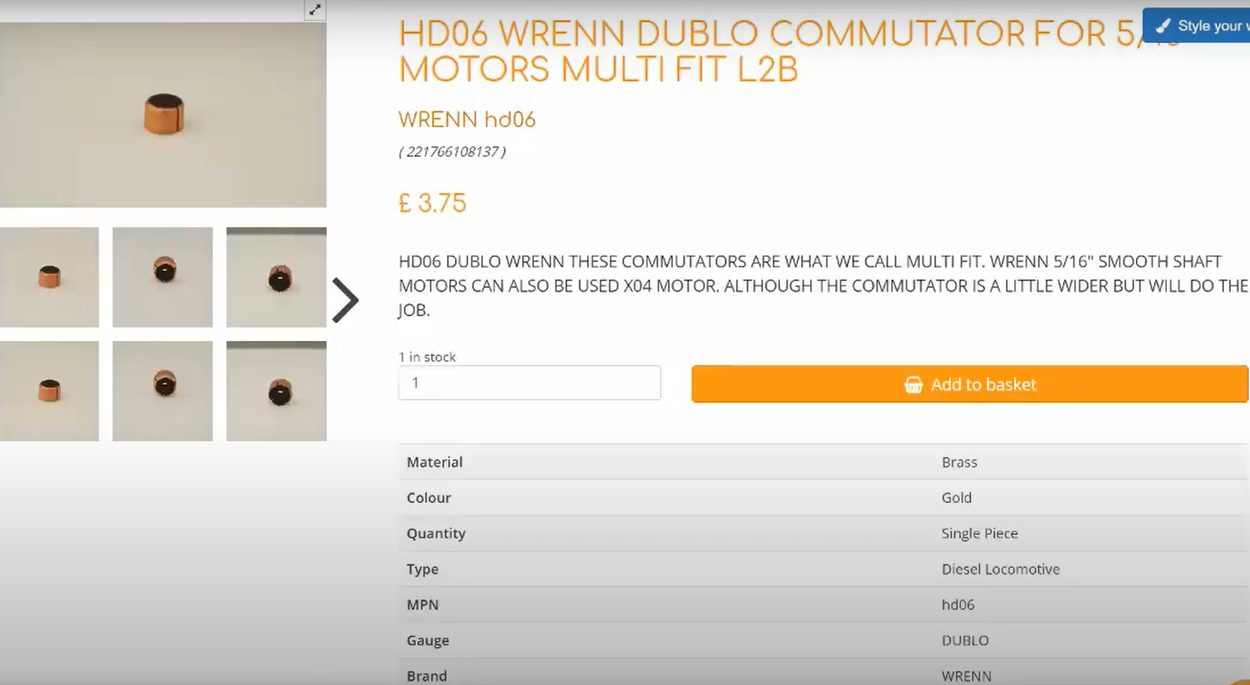
On the other hand, it may be that you have an ecommerce website whereby the image tells the customer nothing new, while the description is hugely important. For instance, if you were a hardware shop selling parts and nuts and bolts, an image of a few screws is not that helpful. The customer knows they are screws. What the customer doesn’t know – and is accentuated with this item layout option – are the exact specifications for these screws (size, weight, where used, etc.)
You should therefore only employ this ‘Bigger Text’ option when the exact dimensions/specifications are the most important thing about the item in the mind of the customer. Users will be looking for this information and they will click away if they cannot find it easily.
Content in Columns Below Layout
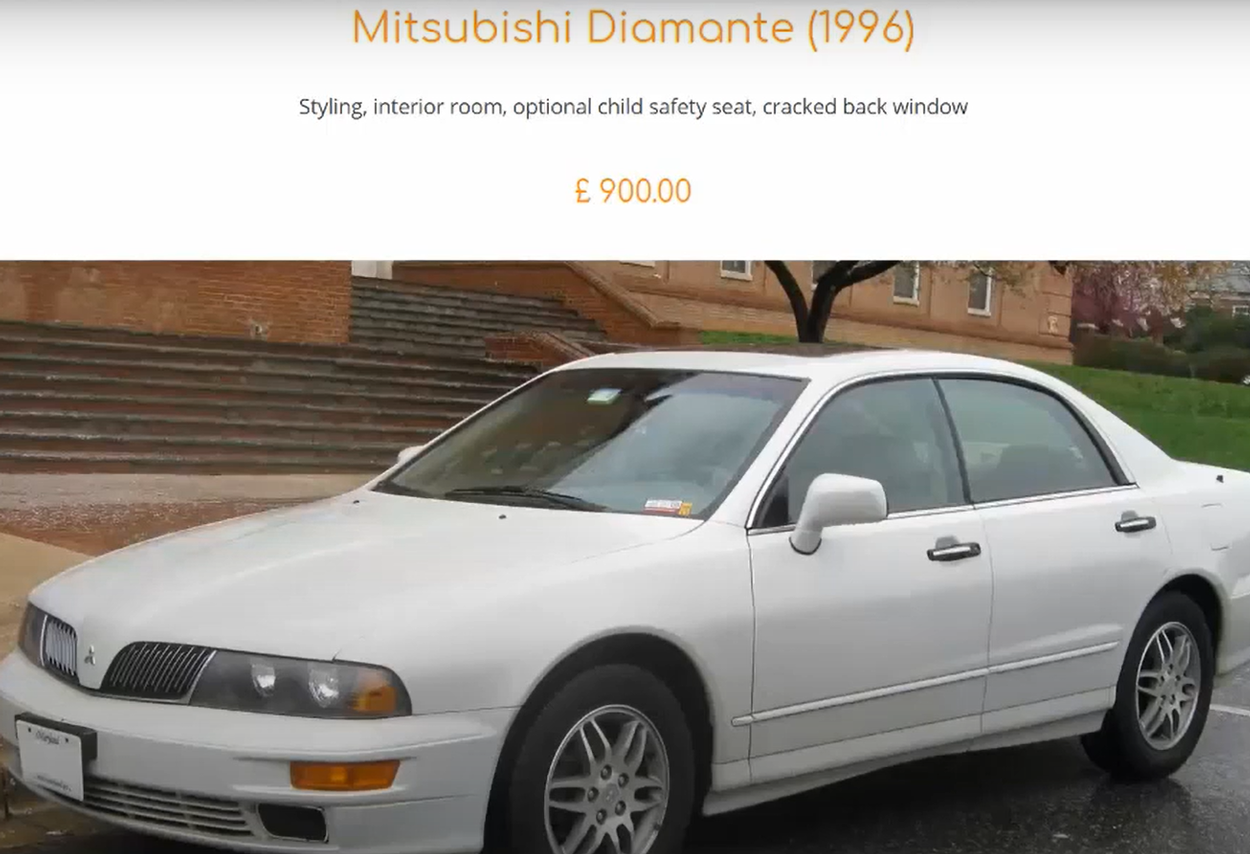
While the three previous layouts are configured so the item image and description sit side by side, the ‘Content in Columns Below’ Layout gives your item image centrality to the page, with additional information like description, variants and custom fields sitting at the bottom. Using this layout means that the item name, price, summary and image – the key elements of an item – are placed front and centre, taking up the whole of the page.
Using this option affords a level of simplicity and directness to the customer. They click on the item and immediately see the important stuff – how much is it, what does it look like, etc. So, in similar fashion to the “Bigger Image” option, you would use this when the most crucial elements of your item are its price and what it looks like. This would not be an ideal option, then, if you had variants or important specifications, as this information is not immediately present when customers click on the item. They would have to scroll down.
The DotGO Way
The easiest website design process you'll ever experience
We squeezed 23 years of practice and thousands of websites into a process that feels effortless and fun.
Every website we design has its challenges
The DotGO Way evolved to keep things moving by identifying
and resolving issues before they become problems.
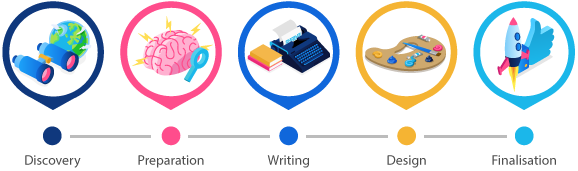
5 simple steps
1. Discovery
Meet our Design Portal. An amazing collaboration area that helps us share ideas, files and expectations. We deep dive into your business and learn as much about you as we can. What are your goals? What makes you unique? What is the purpose of your website? This is where your enthusiasm and ideas meets our imagination.
2. Preparation
We've learned that what look great to us might not look good in your eyes. Our job is to learn what's in your mind. Your own designer will search for stock images and photos to supplement your own. This is the time to work with to find the most optimal Google search phrases to get you found.
3. Content Writing
Have a talk with our amazing Wordsmiths – our content writers will find the right tone of voice , and turn your ideas into engaging, fully Google-optimised web copy. You also get your own personal copy of this professional written content.
4. Design
Our time to shine. We've taken our time to learn what is important to you, so we can now bring together all of your ideas, branding, imagery and written content, and design an incredibly beautiful, powerful and responsive website.

5. Finalisation
Before we 'hand you the keys', we make any tweaks required and provide full training so you can make changes and navigate your powerful control panel.
We'd love to tell you more
Schedule a chat.
or grab a cuppa and give us a call
01883 776112